Cracked window
Inkscape tutorial
Here’s a quick post on how to create the crack in the office window tutorial. Basically, it’s a quick use of the straight line and bezier curve tool. Finally, move some nodes to create the desired effect.

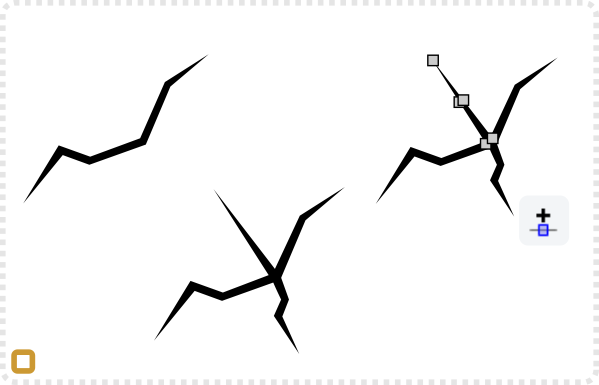
Use the straight line and bezier curve tool to draw a spiky ended shape.
Add more spikes to it using the straight line tool.
Alternatively create a triangle and then add more nodes…
…to move into place with the edit paths by nodes tool.
Add a few more cracks before grouping the shapes (CTRL+G).
Duplicate the group and offset the position slightly (matching your scene’s light setup)…
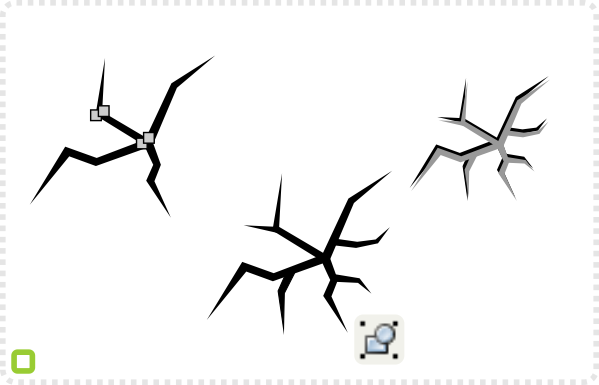
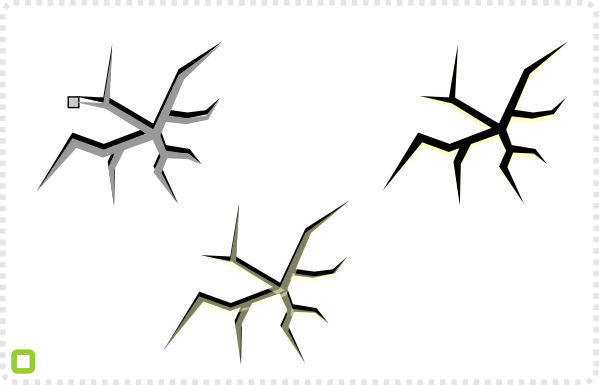
… move the end nodes to line up with our initial shape group…
… and choose a lighter fill colour and set the alpha to ~50% (adjust to your window colour).
Place the lighter shape below the darker group.
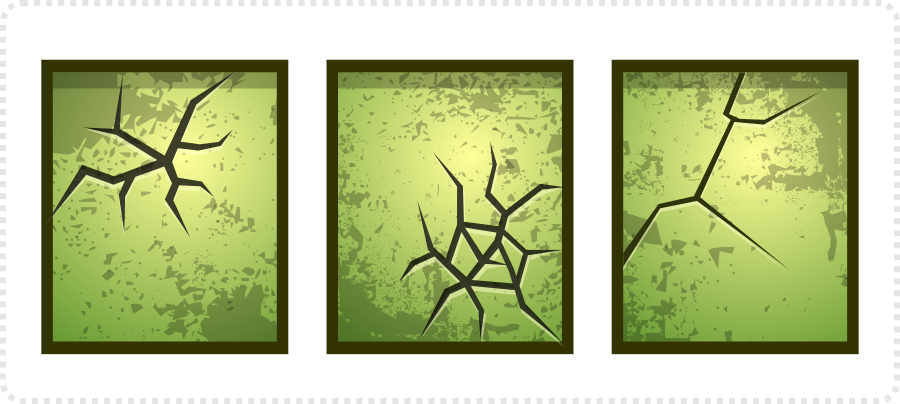
Get the source art [ svg and pdf ] from here for free!
Note:
Combining the spiky shapes (Path/ Union) cleans it up a little bit more – as you won’t see the overlaps. Combine just two objects at a time in inkscape.
I hope this quick tutorial explains the creation of the crack well enough.







Amazing!!
thanks for all tuts, the best inkscape site!
I dont understand why you would have the lighter group below the darker group?
@Cooper – It just depends on the effect you want to achieve and the colours of the background you place the cracks on… Sometimes it looks better to keep the light on top – it creates more depth in the 'cut line'… The crack in the window had no 'surface' below the black cut… I hope this makes sense…
I'm a little unclear how you did the grunge effect (first mentioned in the Office windows tutorial). Is that one of the filters options in Inkscape?
Thanks!
@Jellinger – no… it's not a filter option it's a set of vector shapes I keep handy to 'grunge up' some vector art right in inkscape rather than in gimp.
I googled grunge vectors and found this one…
https://www.bittbox.com/freebies/50-free-vector-grunge-corners
[which is close to what I am using]
I can't really get how you are drawing a spiky ended shape, with berzier curve tool. Inkscape has triangle in/out but only for a line and I even can't find out how to manipulate the lines' width :( (yeah, I'm a programmer :P )
Kon_nos – no problem… It's not a line with a width… The example crack [image 1] is a 10 node shape I handdrew with the line tool. You draw on line that has the shape intended and then track back with a small spacing to the beginning node.
The Creation of The Crack! My prayers have been answered :D