Designing a Basic Face – Character Creation
Inkscape Tutorial
In this tutorial we look at another aspect of character creation – designing a basic face. This time we take it a little further – using mainly circles (again), some more advanced straight line tool and the node modifier. To begin with, we make a facial setup: head, eyes [we might just go with one], mouth, ears and hair. Once these are in place we can look at variations and add more detail.

Let’s start Designing our Basic Face

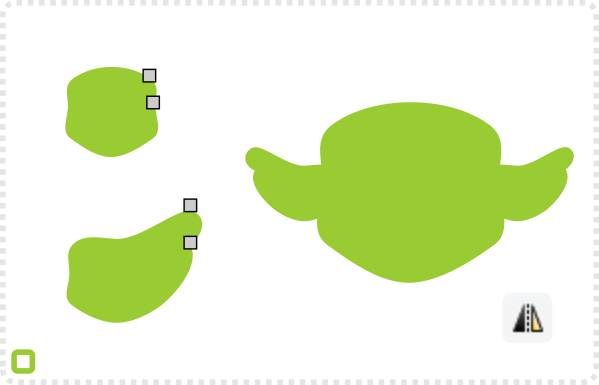
Start with a circle. Convert it to a path and add some nodes.
Next, deform the circle to the basic face shape.
Duplicate the shape and scale it down.
Move the two nodes on the right side upwards to form the ear. Adjust the curves on the top and on the right.
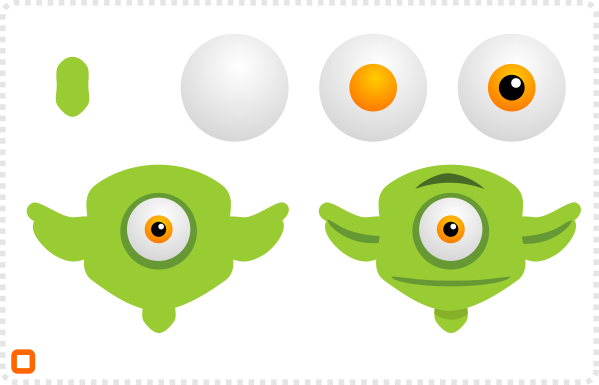
Create another duplicate of the face shape for the neck and place it centred underneath the face.
Bring in the eye. I took this one from the earlier tutorial ‘More fun with circles’ via copy and paste.
Add four modified circles for morethe mouth and shading of the ears, neck and the mono-brow.
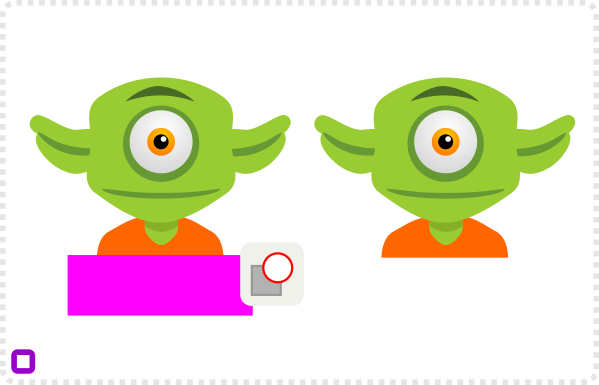
Another copy of the face form the shoulders/ upper torso.
Create a rectangle to cut the bottom with the Path/ Difference [CTRL + -] command.

Adding Hair
Our little head looks a little naked without hair. Consequently, let’s give the character a nice hair cut.
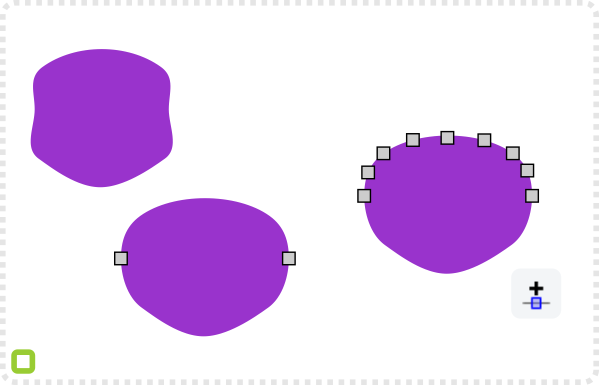
Create yet another copy of the face shape as the starting point for the hair. Scale it up a little and move the centre nodes out and upwards.
Modify the nodes to create some spikes forming something resembling hair.
Using the straight line tool draw a hook like shape with a few (e.g. 7) nodes and modify its curves to form a curl.
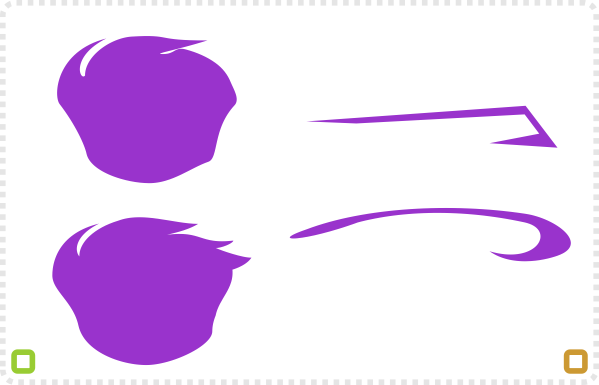
Use the straight lines tool to create a triangle and curve the bottom lines a little to look more dynamic.
With the Path/ Difference command ‘cut’ the triangle out of the head shape
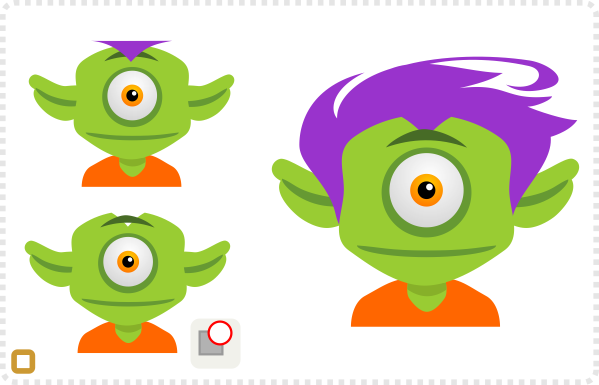
Move the hair into position and lower hair and the ears (Page Down) to layer properly.
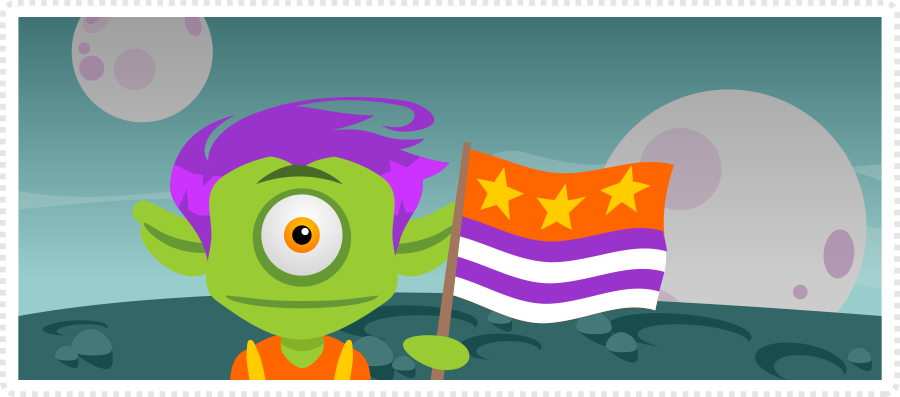
With the inital setup done it’s time to play with the shapes and try out some variations.

Working on Variations for out Basic Face
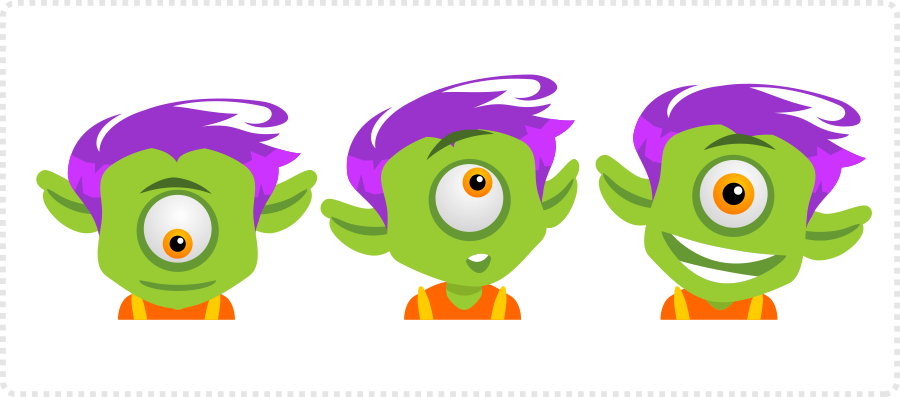
Finally, with all elements in place, creating facial expression is easily achievable with this basic setup. Lower the eyes and raise the ears to look down. Shift the elements a little to the right and make the right ear smaller to look to the side. Tilt the head even further and put on a big smile and an even bigger eye.
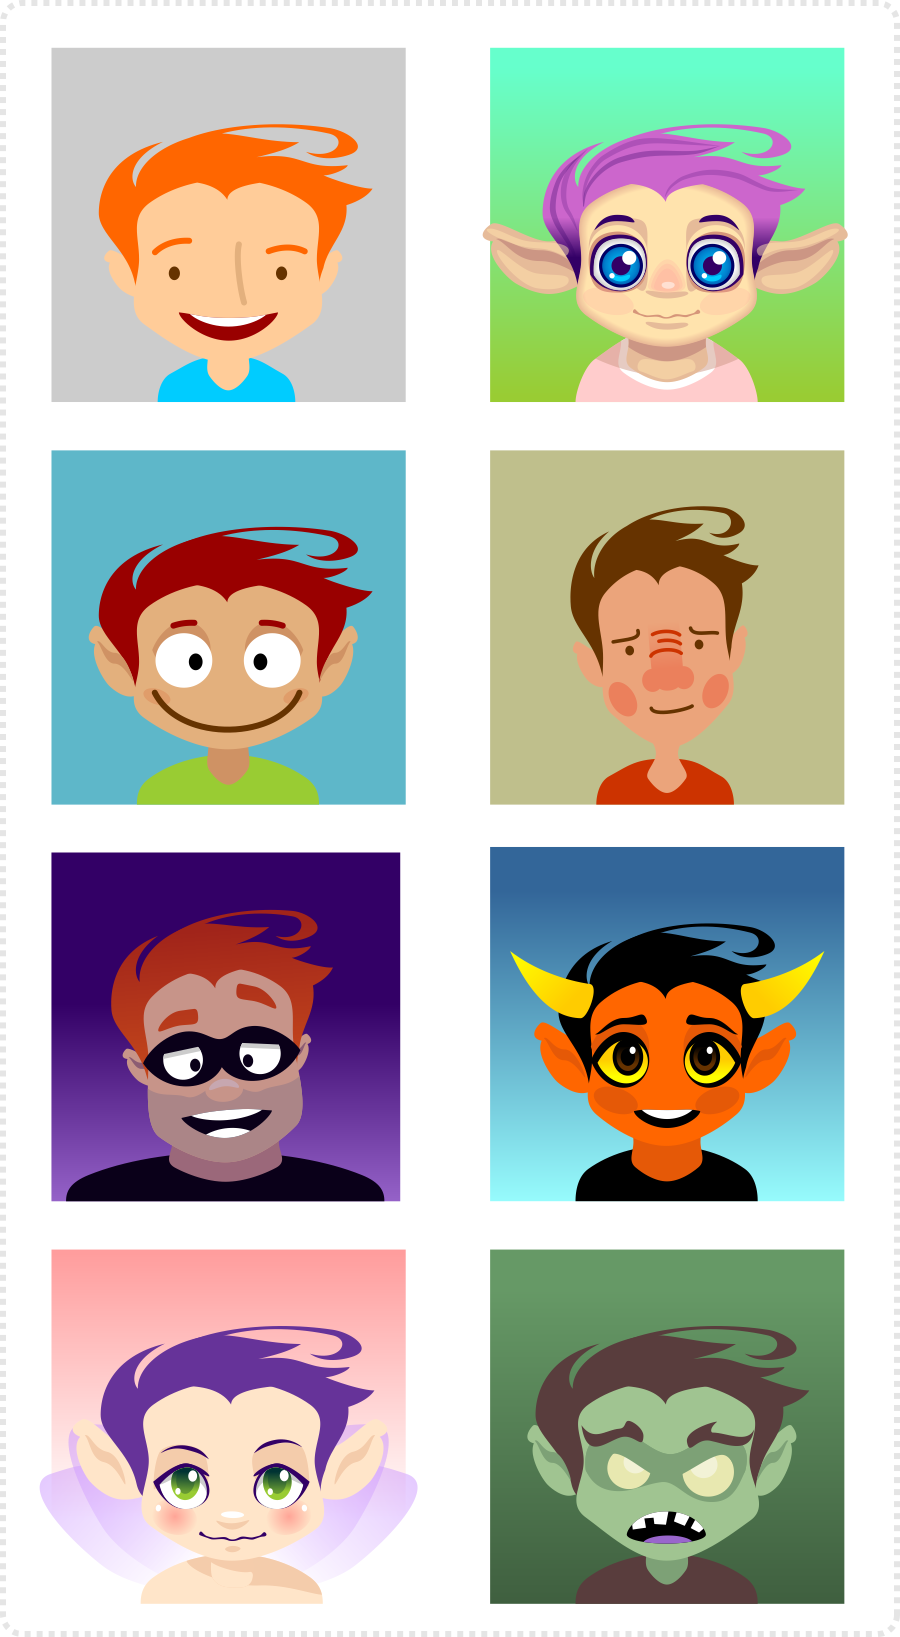
Different styles
With minor changes and some additions the basic elements of this tutorial can turn into infinite other faces. Basically, just squashing and elongating the head, changing the setup eyes, and the shading of the face makes a huge differnce. Additonally, increase the level of detail to allow for even more variations.
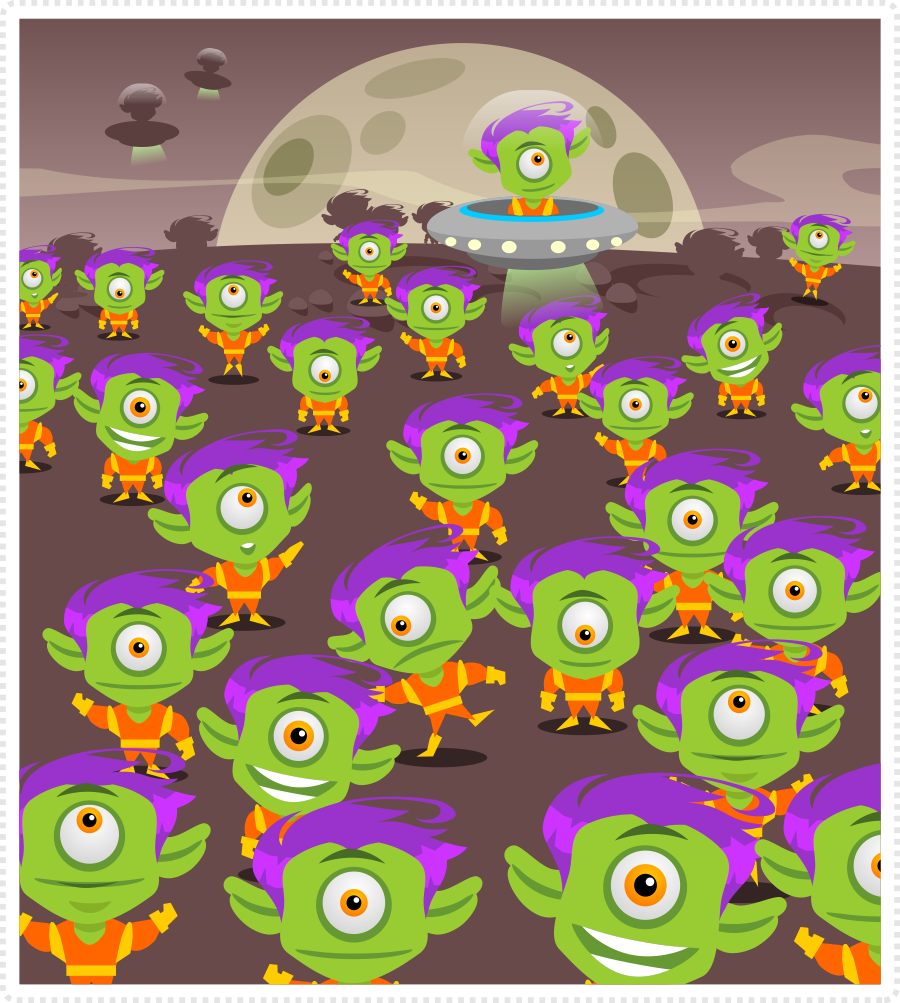
Ultimately, play around with the elements, try out funny, odd, scary looking faces. Make huge eyes, monster fangs, and ridiculous ears for truely unique characters with ease. Once the initial setup is done, creating variations is a breeze.
I hope you enjoyed this addition and it gave you some ideas how to have fun with vectors.




Thanks! All your tutorial are so helpful.
Would you ever consider offering to draw for someone? Say if I wanted a few animated characters made for a construct 2 game and also an animation strip (of the same character in a moving phase such as them running or jumping etc) how much would it cost? Also what about a background?
Love the work! Going to give some of the tutorials a try!