
Complete Game Project [part4] Level and Platform Design
Inkscape tutorial
This fourth installment of the Complete Game Project focusses on level and platform design. We will create the platforms our character and the enemies will move on. They need to match the player character’s look and feel. It’s important for them to stand out enough. Also, they need to be easily identifiable as something solid to stand on.
For this sample game the game play is limited to one screen. The platforms will be connecting left and right side. E.g. the player or an enemy moves out to the left only to reappear on the right side.
Note:
Using blocks and not having to worry about seamless connection of the blocks makes it a lot easier. I will cover some tips and tricks on the creation of seamless tiles in another tutorial that is already waiting for publication.

Level and Platform Design
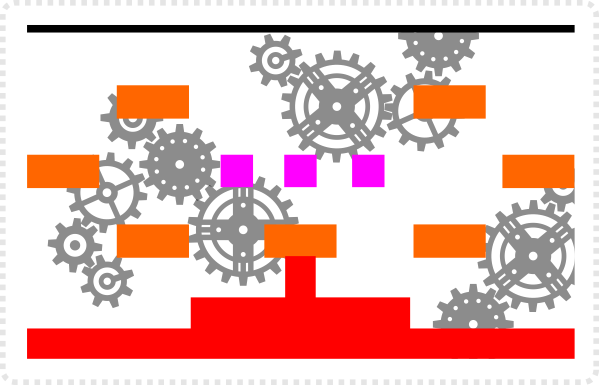
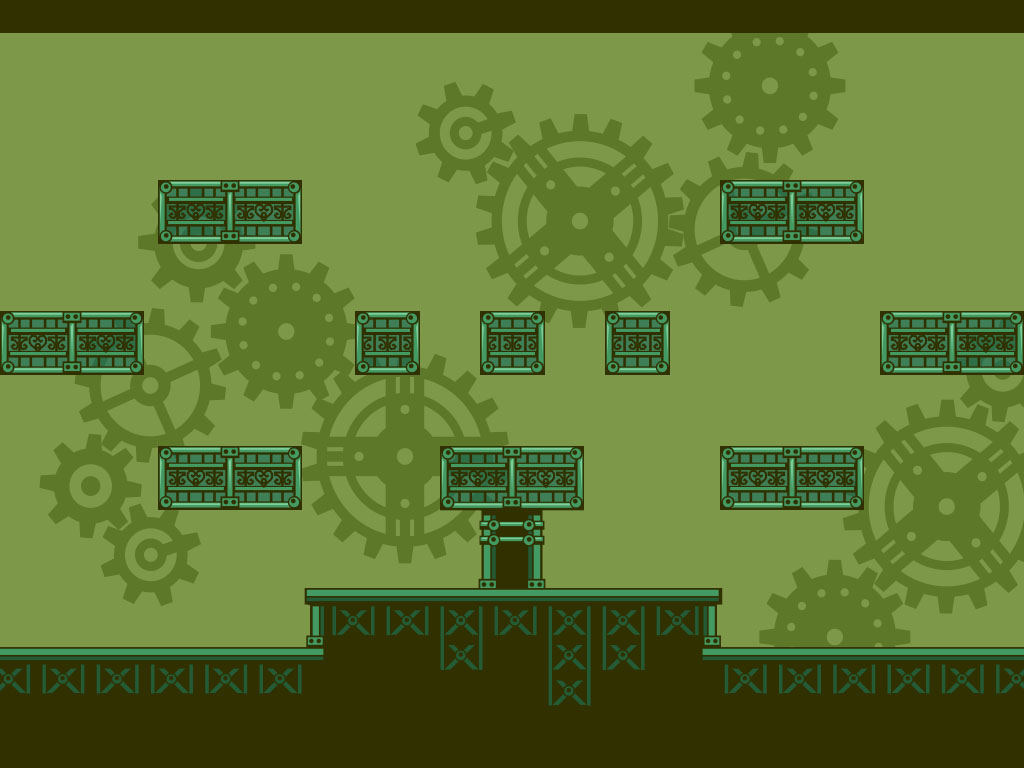
Looking at the initial level setup there is 2 platform types plus the ground that need to be designed.
The platforms bigger platform is double the width of the smaller one to keep placement/ level design and coding simpler.
Start by creating a block that is a 133% the size inner boundary of our character.
The smaller platform box would export at 64×64 pixels.
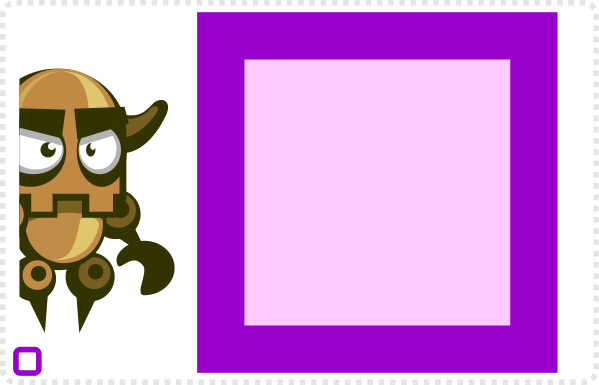
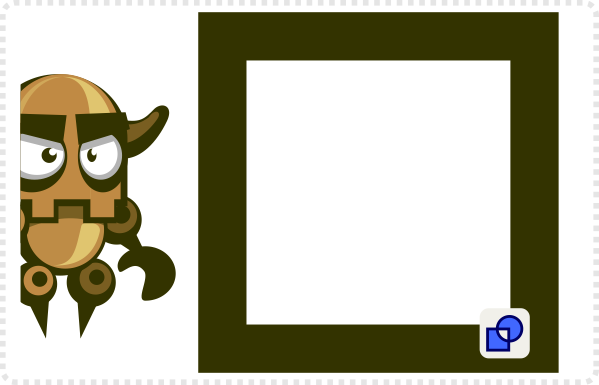
It would be nice to see through the blocks (even more so if the cogs in the background can be animated).
Duplicate the square, scale it down (with CTRL & SHIFT pressed to keep the proportions and centre). Combine both via Path/ Exclusion.
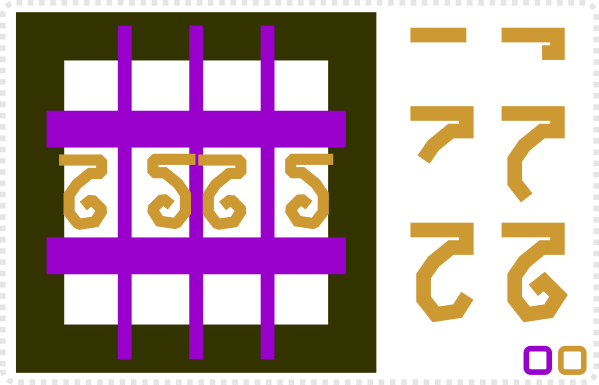
To create the steampunk style decoration I looked at cast iron fences as a reference.
The fence consists of 3 vertical and two wider horizontal rectangles. (The align tool is very helpful in aligning them to the centre of the frame.)
For the decorative element is used the pen tool.

Adding Detail to the Level
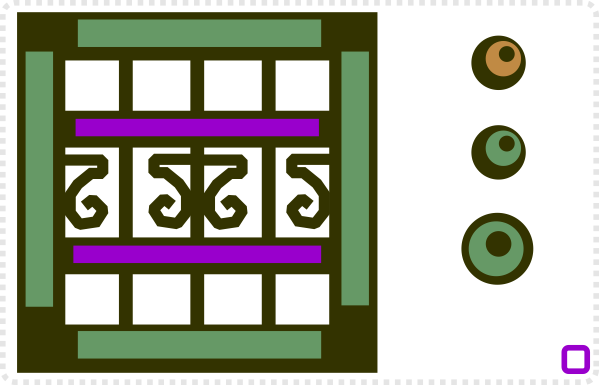
For the colouring I decided to go with a corroded brass – a greenish tone.
Add four rectangles for the frame and two more for the horizontal fence elements.
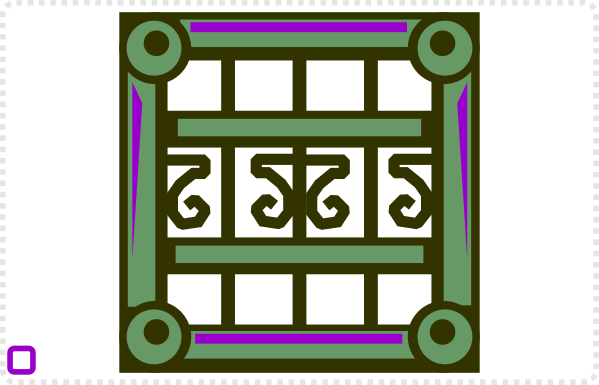
As a repeating elements, copy the shoulder of our main robot and recolour it to match the platform.
Duplicated and mirrored versions are aligned to the corners of the frame.
Two more rectangles along with two triangles are placed as highlights.
I used triangles for the sides to show that the main light source is above the block. As a result there would be less light further down.
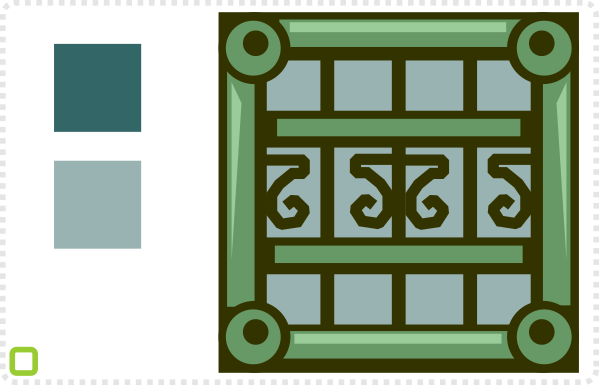
Finally a darker green square is set to 50% alpha and placed behind everything.
Duplicate the result twice for the second platform element.
Some variation is needed to make it look a little more interesting.
Start by deleting the duplicate elements of the frame.
Also the inner round corner elements can be taken off and be replaced with a new rectangular shape.

Adding more Detail for the Level
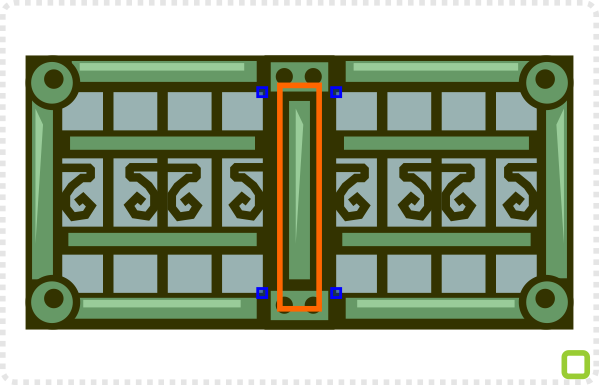
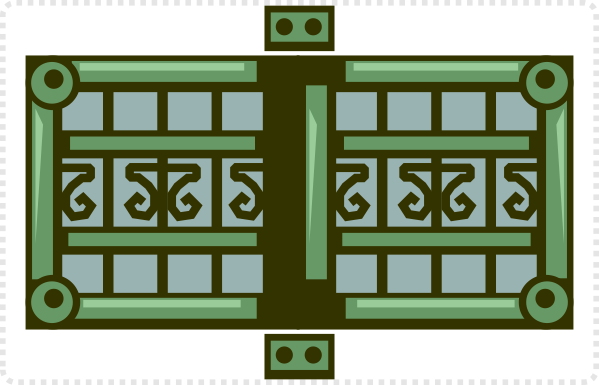
Combine the tow dark frame shape and centre the colour element horizontally.
The green rectangle gives you an idea how much the inner nodes need to be moved towards the centre to keep the darker ‘outline’ consistent with the left and right side of this block.
With the centre piece fixed the rest of the colour elements now need scaling to fill the gaps.
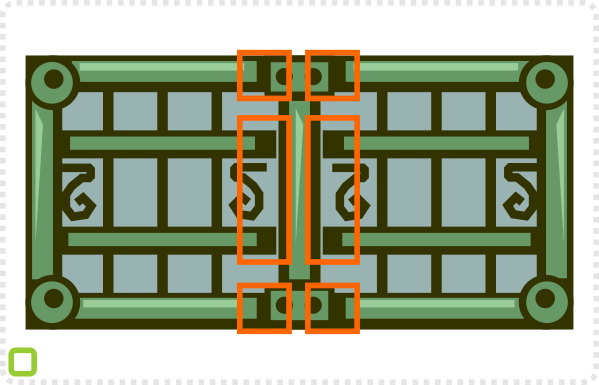
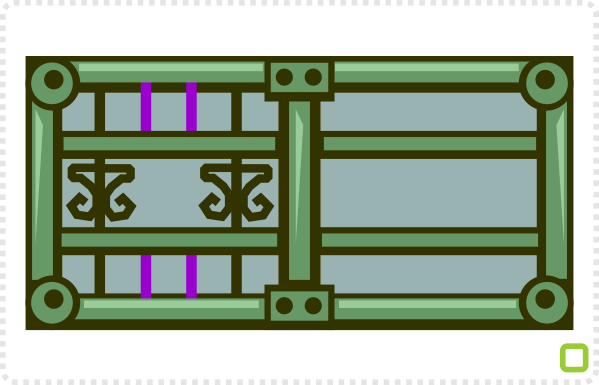
Seeing the spacing inside the frames is a little different now, let’s change the fence pattern accordingly.
Remove one of the vertical bars and scale the height of four down, so they just about cover the top/ bottom space.
Rearrange the decoration element for a slight variation of the fence pattern.
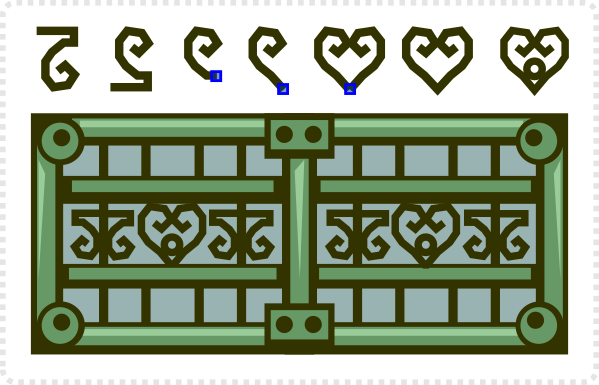
In order to fill the central gap, alter the decoration element a little to form a new centre shape for the fence pattern.
Add the circle to the base of the heart, to fill the space nicely and not to leave too big a hole.
Duplicate the decor and move it over to the other side.

Wrapping up the Platforms
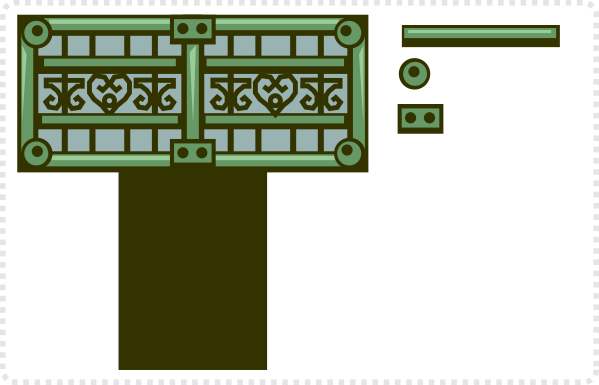
A ‘stand’ is needed for the platform in the centre.
Reuse elements that are already there. It’s easy and ensures a consistent look.
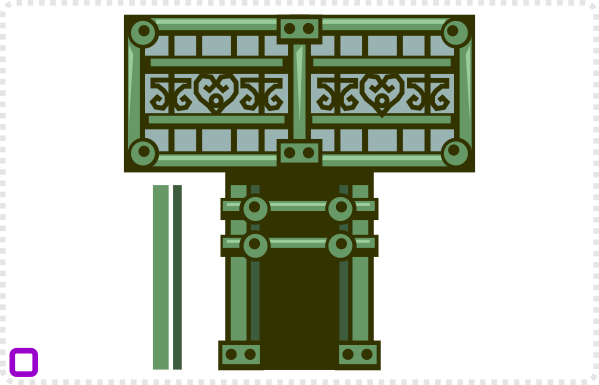
Add the two green vertical rectangles to define the outer shape.
A darker version gives the impression of an indentation. Set both shapes off a little vertically. It creates a shadow by the platform above.
Being more solid than the platform itself will ensure it connects with the ground.
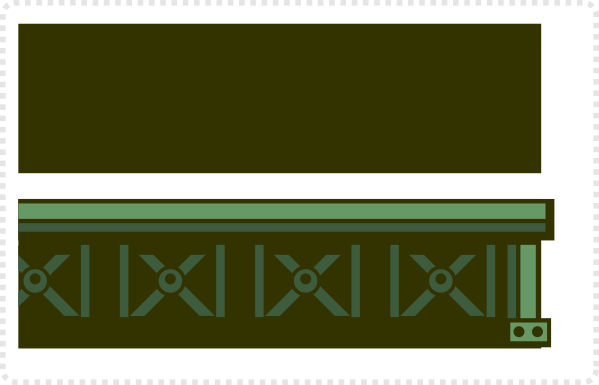
Use the approach for the ground/ bottom platform.
A lighter and a darker rectangle define the top and sides, the double bolted rectangle gives some decoration along with a new piece made up of the circular corner element of the platform and the darker green rectangle.
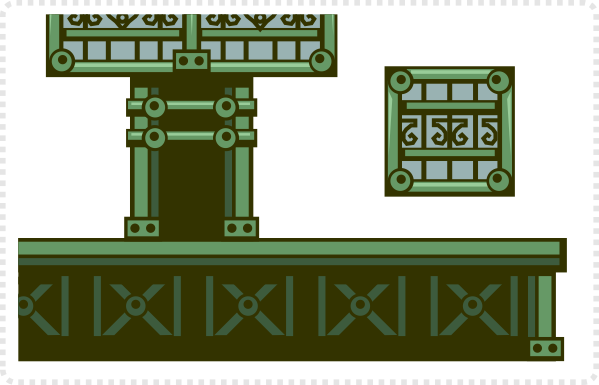
Using the same colour scheme on all platforms and keeping some of the key decoration elements allowed for a speedy and consistent creation of the platforms.
Other levels might use different elements, colours and materials but as long as they kept consistent within the level, players will immediately realize the level setup.
Wrapping up the Level and Platform Design
I hope you enjoyed this installment of the ‘complete game art’ tutorial. Next on my list will be the background – which will most likely be broken up into three tutorial posts. Afterwards it’s time for the much anticipated and a bit more complex animation tutorials.











Cool As always Chris :D
Hi Chris. I plan on using unity and am familiar with how layering works. Any advice/tips on what needs to be considered when planning to create a parallaxing side scroller. I'm going for the effect from League of Evil, where the player can rappel through several stories with parallaxing background….
Nice work with this tuts series! While I'm not involved into games, there are always things to learn :) Keep it goin'! :)