Game Title Screen
Feedback
This tutorial derived from a posting on Facebook. The developer showed his title screen asking for feedback. Sadly a lot of people mocked him. His style was a mix of pixel art and smooth bitmap elements. Different scaling of the art didn’t make it look more consistent either.
I ended up making a few screens for a more organized approach for his title. This approach works for a lot of other themes and screen compositions as well.
I started out by setting up a new document using pixels instead of millimetres or inches. In the page settings (File/ Document Properties) set the general unit to px and the custom size to px. Before adjusting the desired width and height.
For this tutorial, I set the size to my desired output of 2560x1440px. I like to use this size as a hires mobile device resolution. It allows me to scale down to most other common screen resolutions.

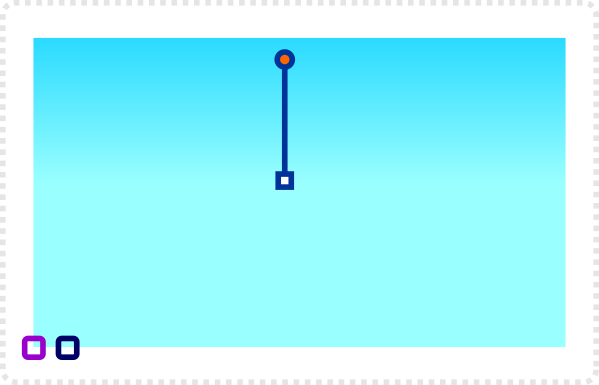
The sky is the starting point. In this case, I want a daylight scene that works with the blue and white logo design I did earlier.
Use the gradient fill. Keep in mind that we are going to cover the bottom half with the ground. Consequently, adjust the gradient to run just to the centre of the image.
Duplicate the sky and scale the top down.
For a more dynamic look curve the terrain.
Note:
It’s helpful to put elements on different layers to easily separate the parts you are working on.
One layer for the sky, clouds on top, one for the ground another for the logo, etc.


Using a duplicate of the ground in a lighter tint (going more for the blueish tone of the sky) helps create some depth in the background.
Note:
Picking colours can be made easier by using a sample and change the opacity level to get mixed tones.
Next up are clouds using basic circles.
They are placed on a layer below the distant ground.
Note:
I did cover clouds in an earlier tutorial. You might want to check it out here.


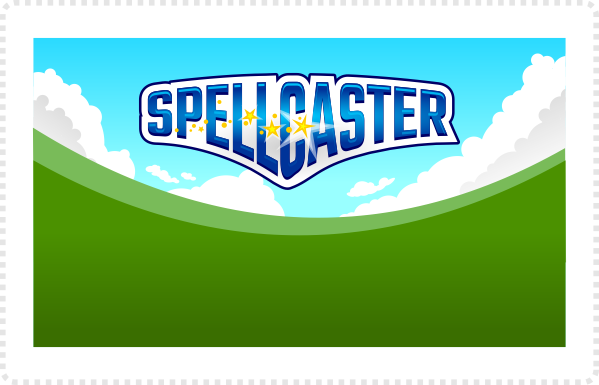
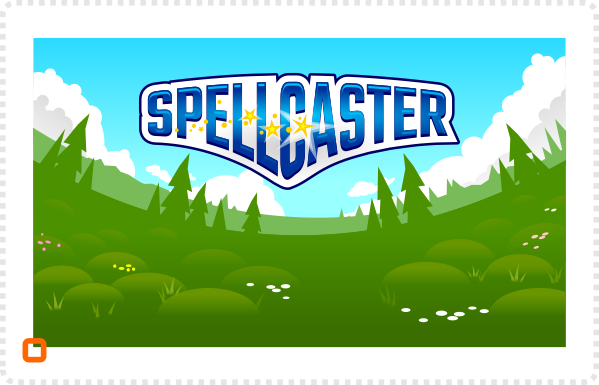
Time to add the game title. Leave enough room at the top and the sides when placing your title.
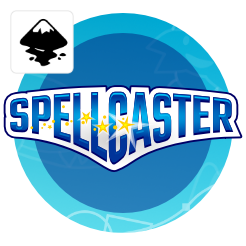
I prepared this one before and it’s basically a deformed text with an envelope deformation, a path outset, a gradient, an outer stroke and some stars and dots for decoration.
Using the pen tool add some triangles to the lower ground to show some detail. It’s an easy way to create some tree line or distant mountains.
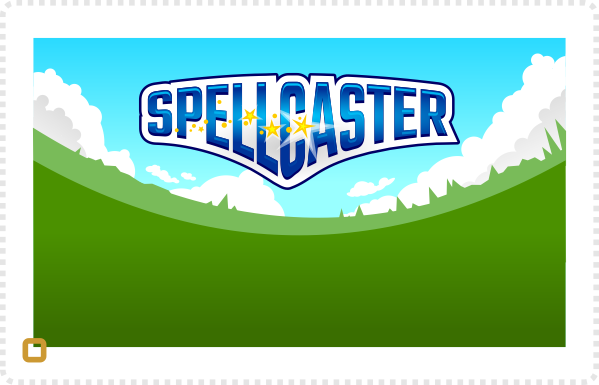
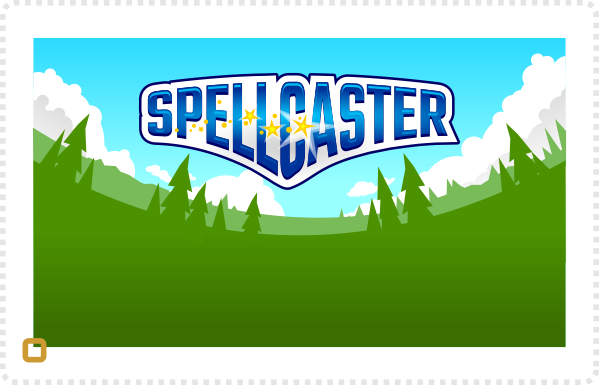
Do the same for the layers on top. Adding more detail with simple shapes of trees, rocks or buildings.
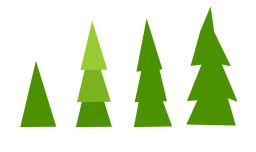
Add an ellipse with a lighter green and a gradient to no opacity. Scale them down as they appear to be further away to create depth.
A few bits of grass and some circles for flowers as simple deco finish of the background.

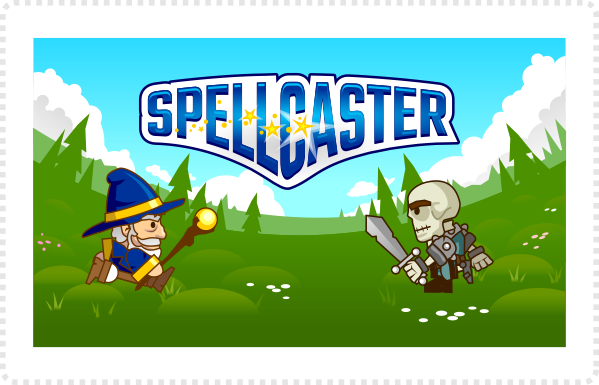
Next up are the two main characters for the scene.
Note:
Try and balance the scene to have a ‘counter weight’ when adding an element in the foreground.
Add shadows to the elements to ‘ground’ them.
Note:
A shadow helps prevent elements from looking like they are floating randomly in the scene. Think about the placement of elements and deco in the scene. Could it work in real life?

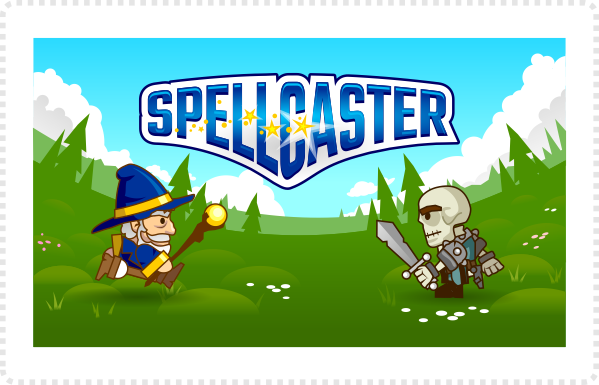
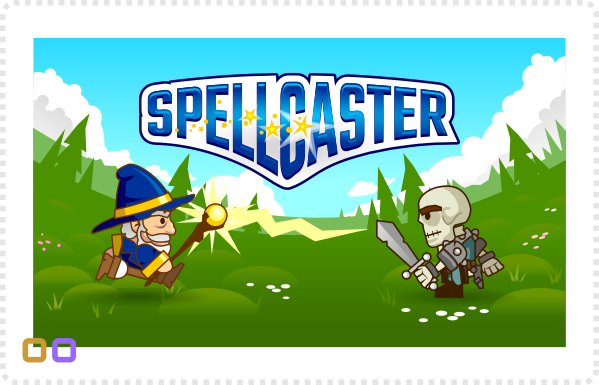
As the game is supposed to be about spells. It’s time to add some effects on a layer below the wizard.

Star shapes and lightning, drawn with the pen tool, make a quick effect. Allowing for blur or glow to be added later on.
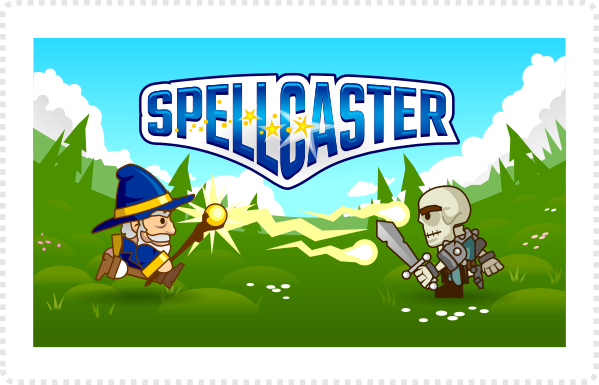
Adding more shots (a variation of the first effect).
Note:
When reusing elements try and alter rotation, scale and maybe move some nodes to create a version that looks just different enough to get by. A lot of the time small changes are enough to avoid boring repetitions.

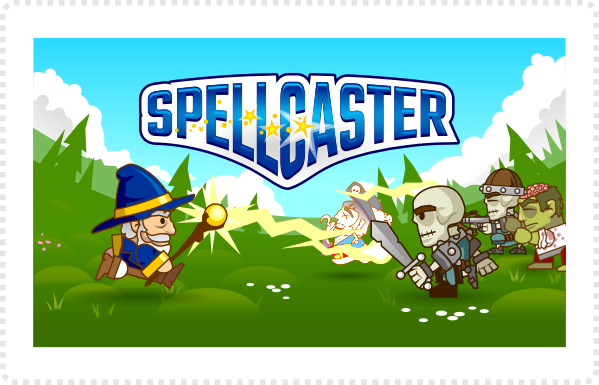
With the light source in mind add some highlights. Use the pen tool or add some circles deformed to match the shape of the area you want to shade.
An easy trick to focus the view on the essential elements is to darken the borders.
Create another rectangle with a curve in a dark blue for the sky and a very dark green for the ground. Give those a 50% opacity (and maybe a blur later on).
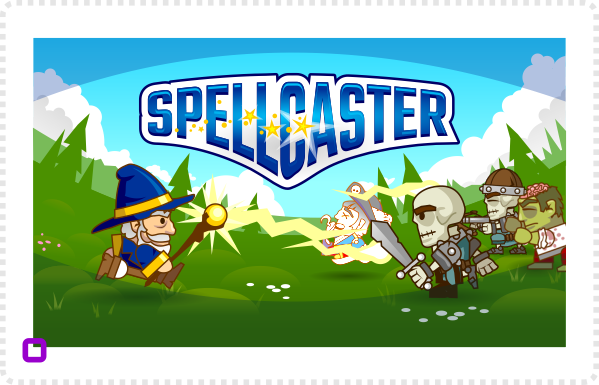
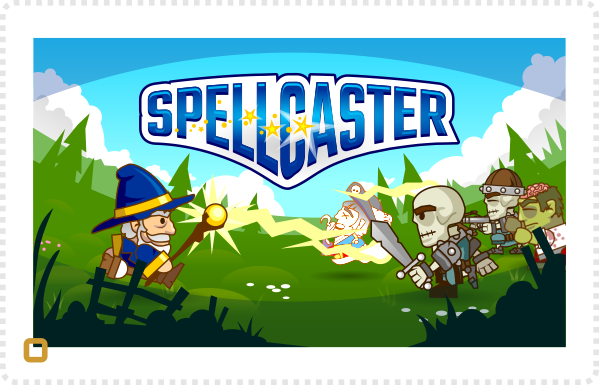
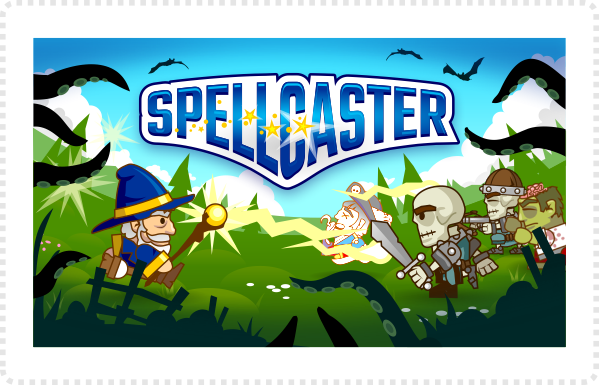
Another layer at the very front adds more depth – overlapping elements help create that illusion.
Add more details to fill empty spaces and create the atmosphere you want to achieve.
Note:
Remember to leave enough room if you need to add buttons, text or additional information.
Note:
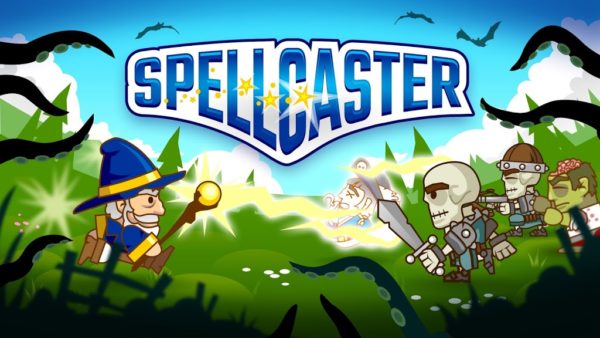
I used slightly modified Block Buddies characters (sorcerer, zombie and pirate). The skeleton from an earlier game asset giveaway for the characters.



Nice work…
Top…. Good grfx are always crucial for success!
Looks cool :)
Good tutorial as always. I would like to see how you made the title. Sometimes using gradients and deformations, etc. do not work out for me as expected. I figure I am doing something wrong, so it would be nice to see how you do it in detail.
I just posted the tutorial on the title. I hope it explains the use of the envelope deformation.
Yes! Thanks, this a big help, especially since I am currently working on some game title ideas for my game now.